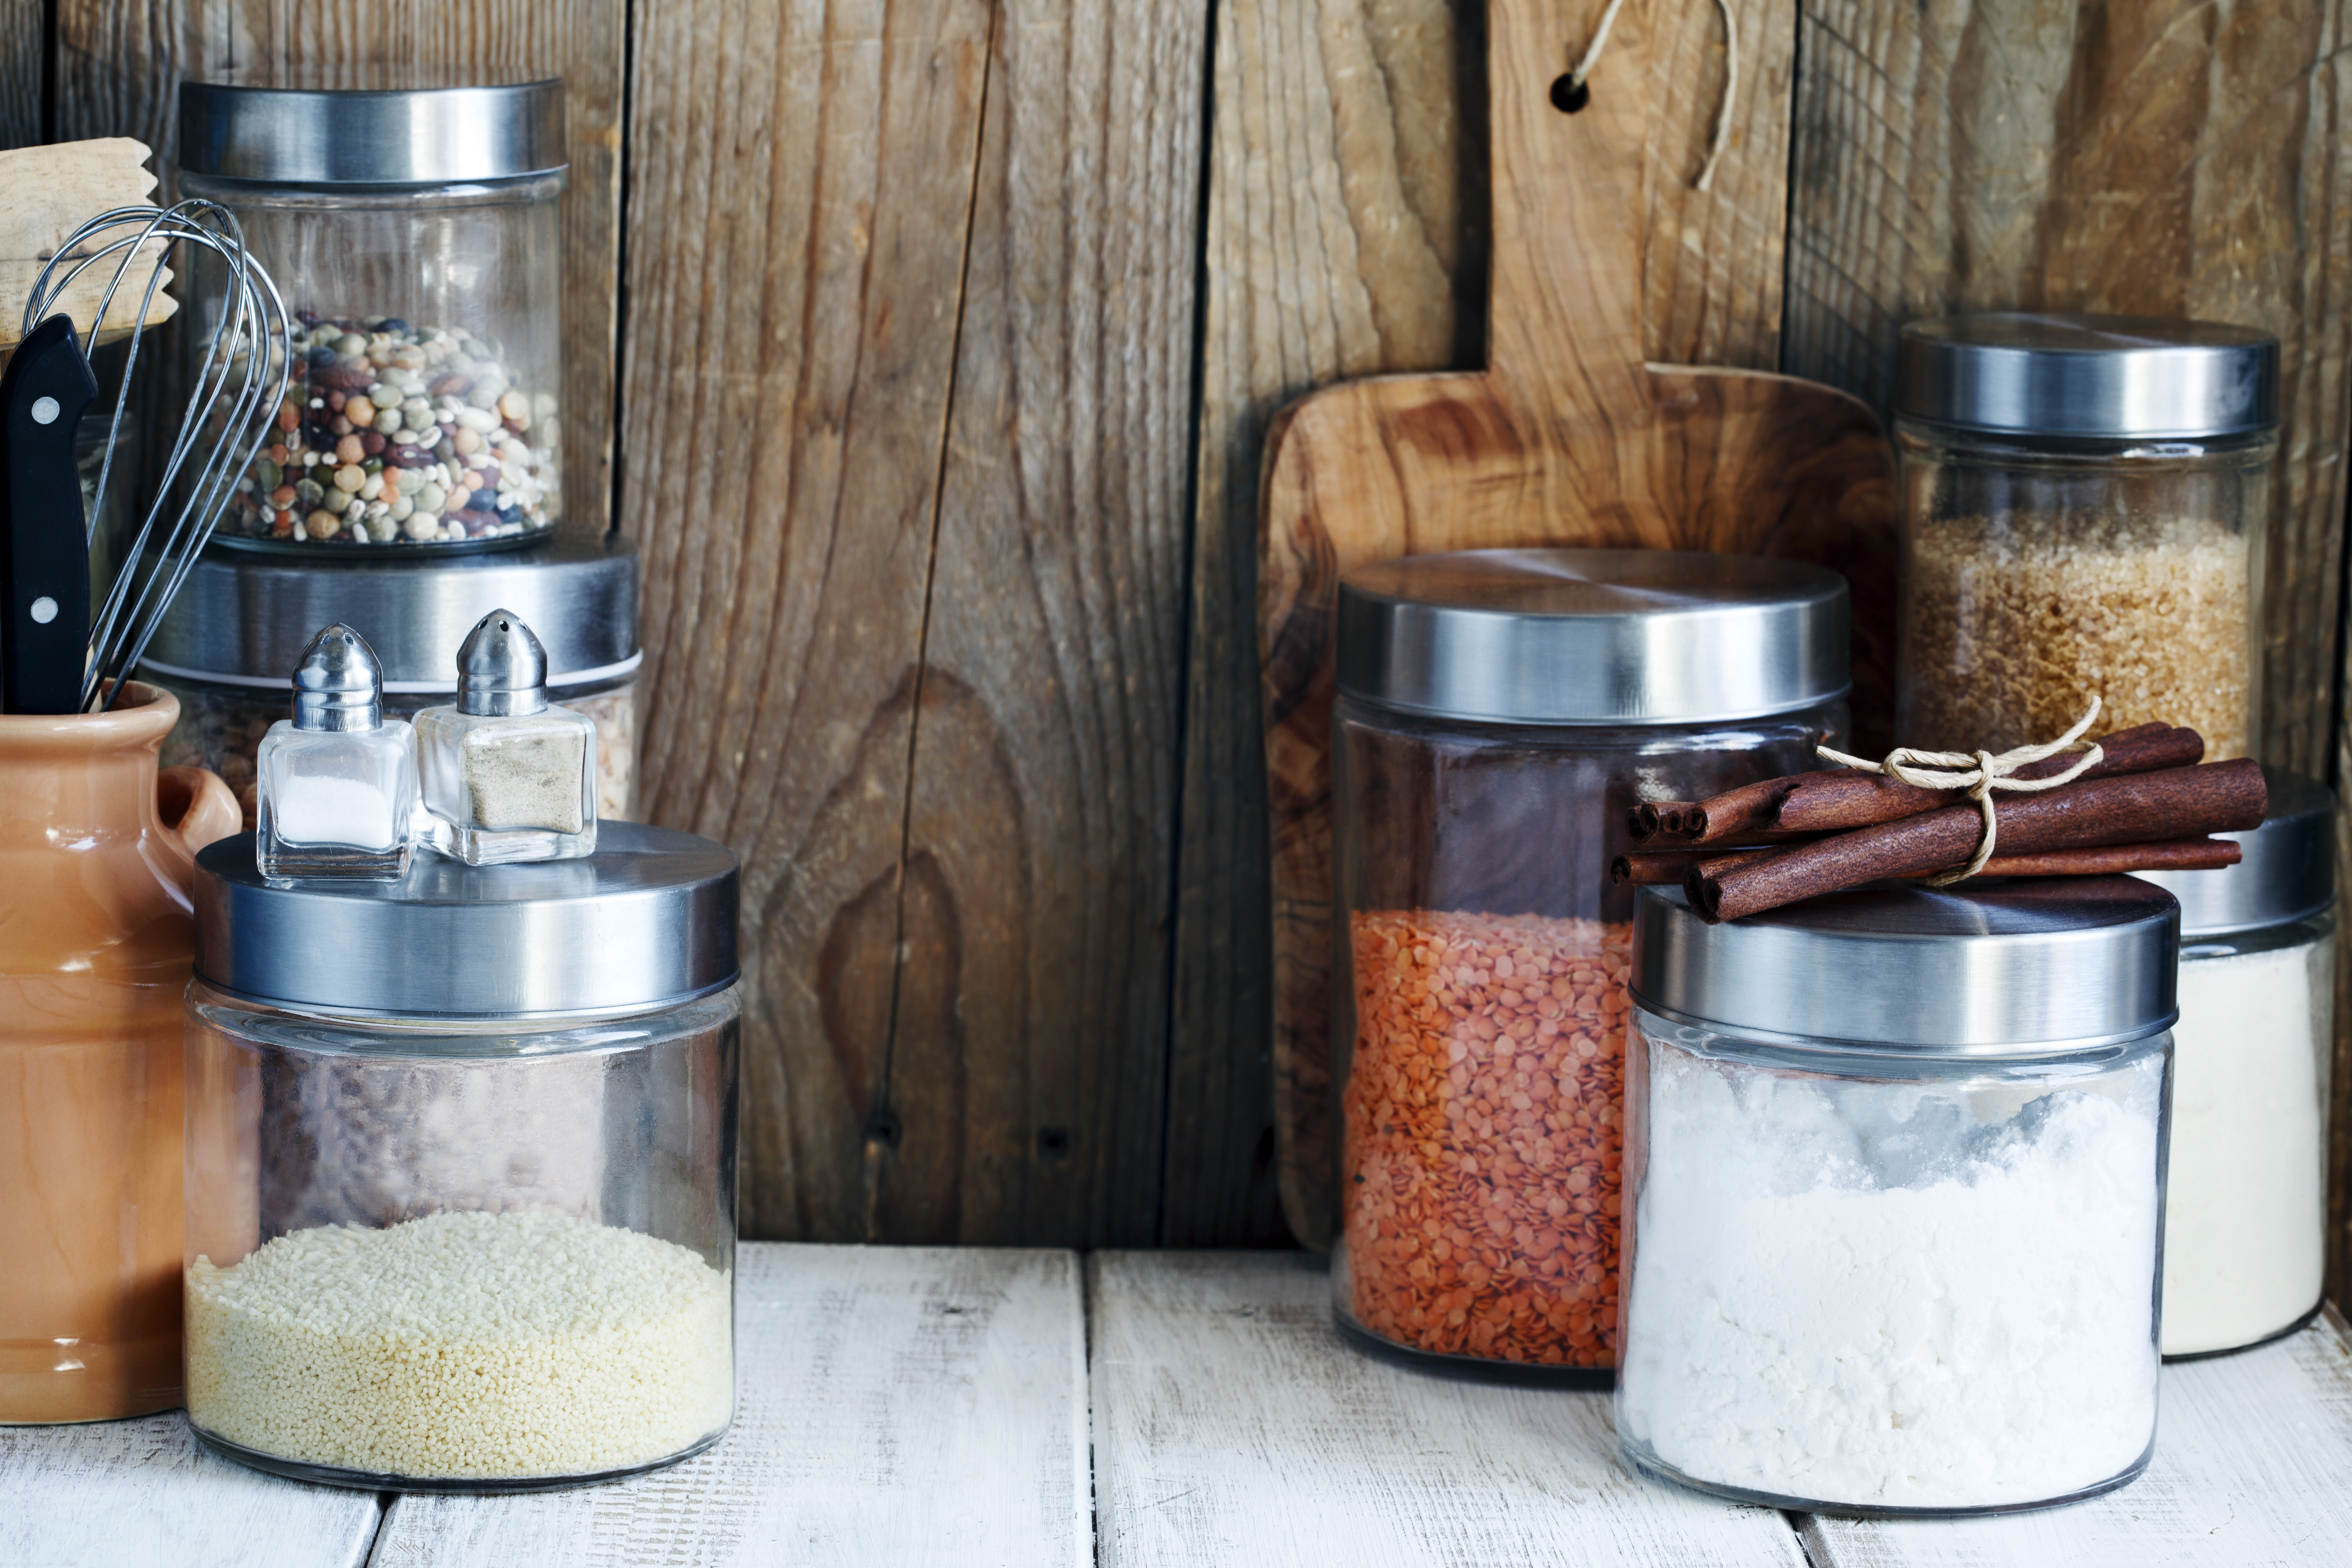
Whether you have a walk-in pantry (ok, I’m envious) or a couple of deep shelves in the kitchen, your game plan is this: zone defense. Here’s how it’s played:
1. Empty the entire space.
2. Sort items, grouping like with like
3. Discard expired foods
4. Consider donating large volumes of excess food to a local food pantry
5. Set-up zones in the available space, giving a name and purpose to each zone, for instance:
- Pasta-making items
- Baking items
- Snacks
6. Take stock of the zones, with an eye on their volume. You cannot store 10 pounds of sugar in a five-pound bag, so don’t fool yourself if the volume is more than the available space.
7. Take a second pass at your supplies, now that you can see the volume clearly.
8. Remember, less is more. Exactly how many cans of tomato sauce/paste, etc. do you need? If you want a stockpile of anything, consider storing it in a separate place if you’re short on space.
9. Select containers to hold like items and have fun with it! I use a basket to hold protein bars, including removing the various bars from their boxes and putting them on display, making them easy to grab and go!
10. Place loose items or small items in containers. Clear containers with bold labels show what’s inside them. For example, I use a clear container to hold smaller baking supplies, like food coloring, icing tubes, cupcake papers, and birthday candles. You get the idea!
11. Ditch (or donate) the bread machines, yogurt makers, George Foreman grills and Panini presses that hog up precious shelf space but are rarely, if ever used.
12. Consider storing infrequently used gadgets elsewhere—or at least not on the most accessible shelves.
13. Have fun! You’d be surprised at how a zoned pantry can rein in your food storage challenges.

